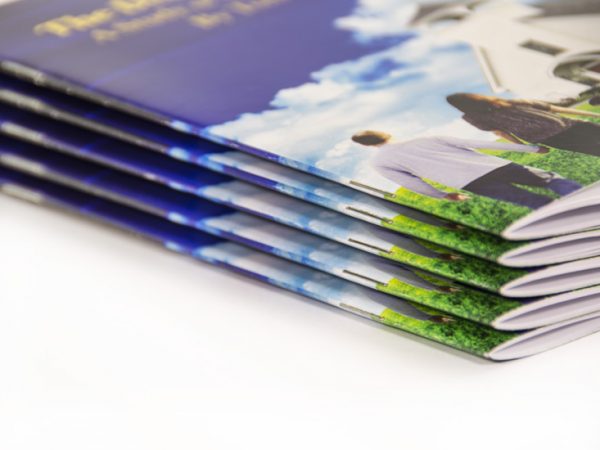
The term “saddle stitching” in the printing business refers to a widespread bookbinding technique in which folded sheets are collected together one within the other and wire stapled through the fold line.
You should follow a few steps on how to make saddle stitch booklet. These steps include preparing the design file, poking holes in the fold of the paper, and printing with crop marks and bleed marks. Once you’ve completed these steps, you’ll be ready to publish your saddle stitch booklet!
Printing a saddle-stitched booklet
There are a few steps to printing a saddle-stitch booklet. First, export the project as a PDF from Adobe Acrobat Pro or Distiller. Then, ensure you’ve set up the file for saddle stitch printing.
It would be best if you had the pages of your booklet in the proper order to ensure the spine is aligned and that it will lay flat after it’s stitched. To get the appropriate sequence, make sure that you include page counts in multiples of four. Then, align your pages using the layout provided by your printer.
After you’ve positioned your pages correctly, you should fold them. The spine should be on the left, and the open edges should be on the right. You can then use Printer Spreads to display the side of the pages by the side.
Preparing the design file
Preparing the design file for saddle stitch book printing requires you to schedule a document that includes the page layout you’d like. There are two main options: bleed and bleed less. Bloodless booklet printing allows you to have the entire design, resulting in a thin white border on the pages. You can export the document as a PDF if you don’t want this.
In a Saddle Stitch booklet, the pages move from the spine a certain amount, called “creep.” The amount of creep depends on the number of pages and the thickness of the paper. The larger the number of pages, the higher the creep will be. However, the creep will barely be noticeable if you’re making a book with less than forty pages. The trick is to compensate for the creep by shifting page content.
Poking holes along the paper fold
When making saddle stitch booklets, it is important to poke holes along the paper fold. The first step is to poke holes at the top and bottom of the fold. Make sure the thread is double-knotted, as this will prevent the knot from being pulled through the holes. Next, remove the line gently through the hole, starting from the bottom and moving outward. Be sure to weave the thread through the holes. Repeat the process until the book has three layers of paper.
Next, poke a few spots along the fold of each page. Make sure the holes are spaced evenly, so the thread does not come out. Use a ruler to check the position and spacing of the holes. If needed, use pins to help jump-frog the holes.